
Building an Image Recognition API using Flask.
Step 1: Set up the project environment
1. Create a new directory for your project and navigate to it.
2. Create a virtual environment (optional but recommended):
(Image 1.)
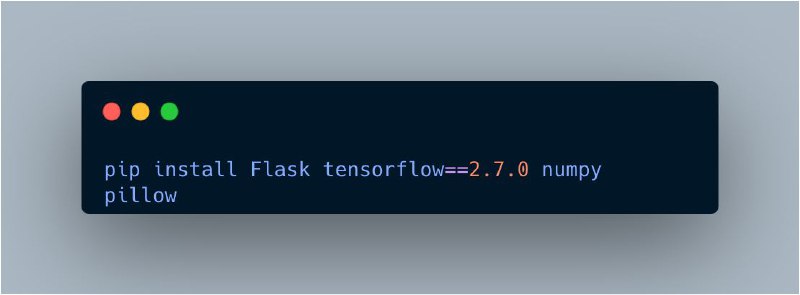
3. Install the necessary libraries (image 2.)
Step 2: Create a Flask Web Application
Create a new file called app.py in the project directory (image 3.)
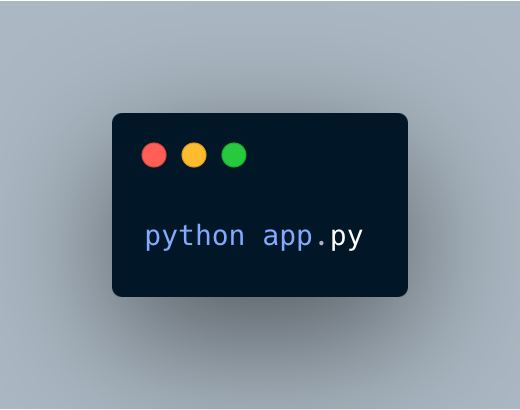
Step 3: Launch the Flask Application
Save the changes and run the Flask application (image 4.)
Step 4: Test the API
Your API is now up and running and you can send images to /predict via HTTP POST requests.
You can use tools such as curl or Postman to test the API.
• An example of using curl (image 5.)
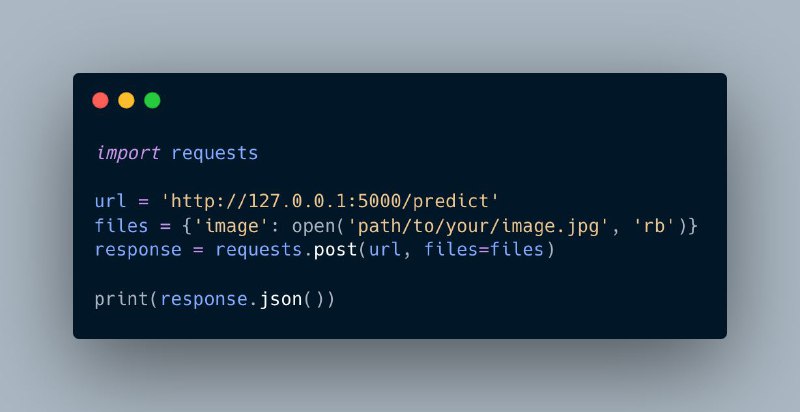
• An example using Python queries (image 6.)
https://www.tgoop.com/DataScienceT
Step 1: Set up the project environment
1. Create a new directory for your project and navigate to it.
2. Create a virtual environment (optional but recommended):
(Image 1.)
3. Install the necessary libraries (image 2.)
Step 2: Create a Flask Web Application
Create a new file called app.py in the project directory (image 3.)
Step 3: Launch the Flask Application
Save the changes and run the Flask application (image 4.)
Step 4: Test the API
Your API is now up and running and you can send images to /predict via HTTP POST requests.
You can use tools such as curl or Postman to test the API.
• An example of using curl (image 5.)
• An example using Python queries (image 6.)
https://www.tgoop.com/DataScienceT
👍5❤1🐳1
tgoop.com/CodeProgrammer/2231
Create:
Last Update:
Last Update:
Building an Image Recognition API using Flask.
Step 1: Set up the project environment
1. Create a new directory for your project and navigate to it.
2. Create a virtual environment (optional but recommended):
(Image 1.)
3. Install the necessary libraries (image 2.)
Step 2: Create a Flask Web Application
Create a new file called app.py in the project directory (image 3.)
Step 3: Launch the Flask Application
Save the changes and run the Flask application (image 4.)
Step 4: Test the API
Your API is now up and running and you can send images to /predict via HTTP POST requests.
You can use tools such as curl or Postman to test the API.
• An example of using curl (image 5.)
• An example using Python queries (image 6.)
https://www.tgoop.com/DataScienceT
BY Python | Machine Learning | Coding | R


Share with your friend now:
tgoop.com/CodeProgrammer/2231